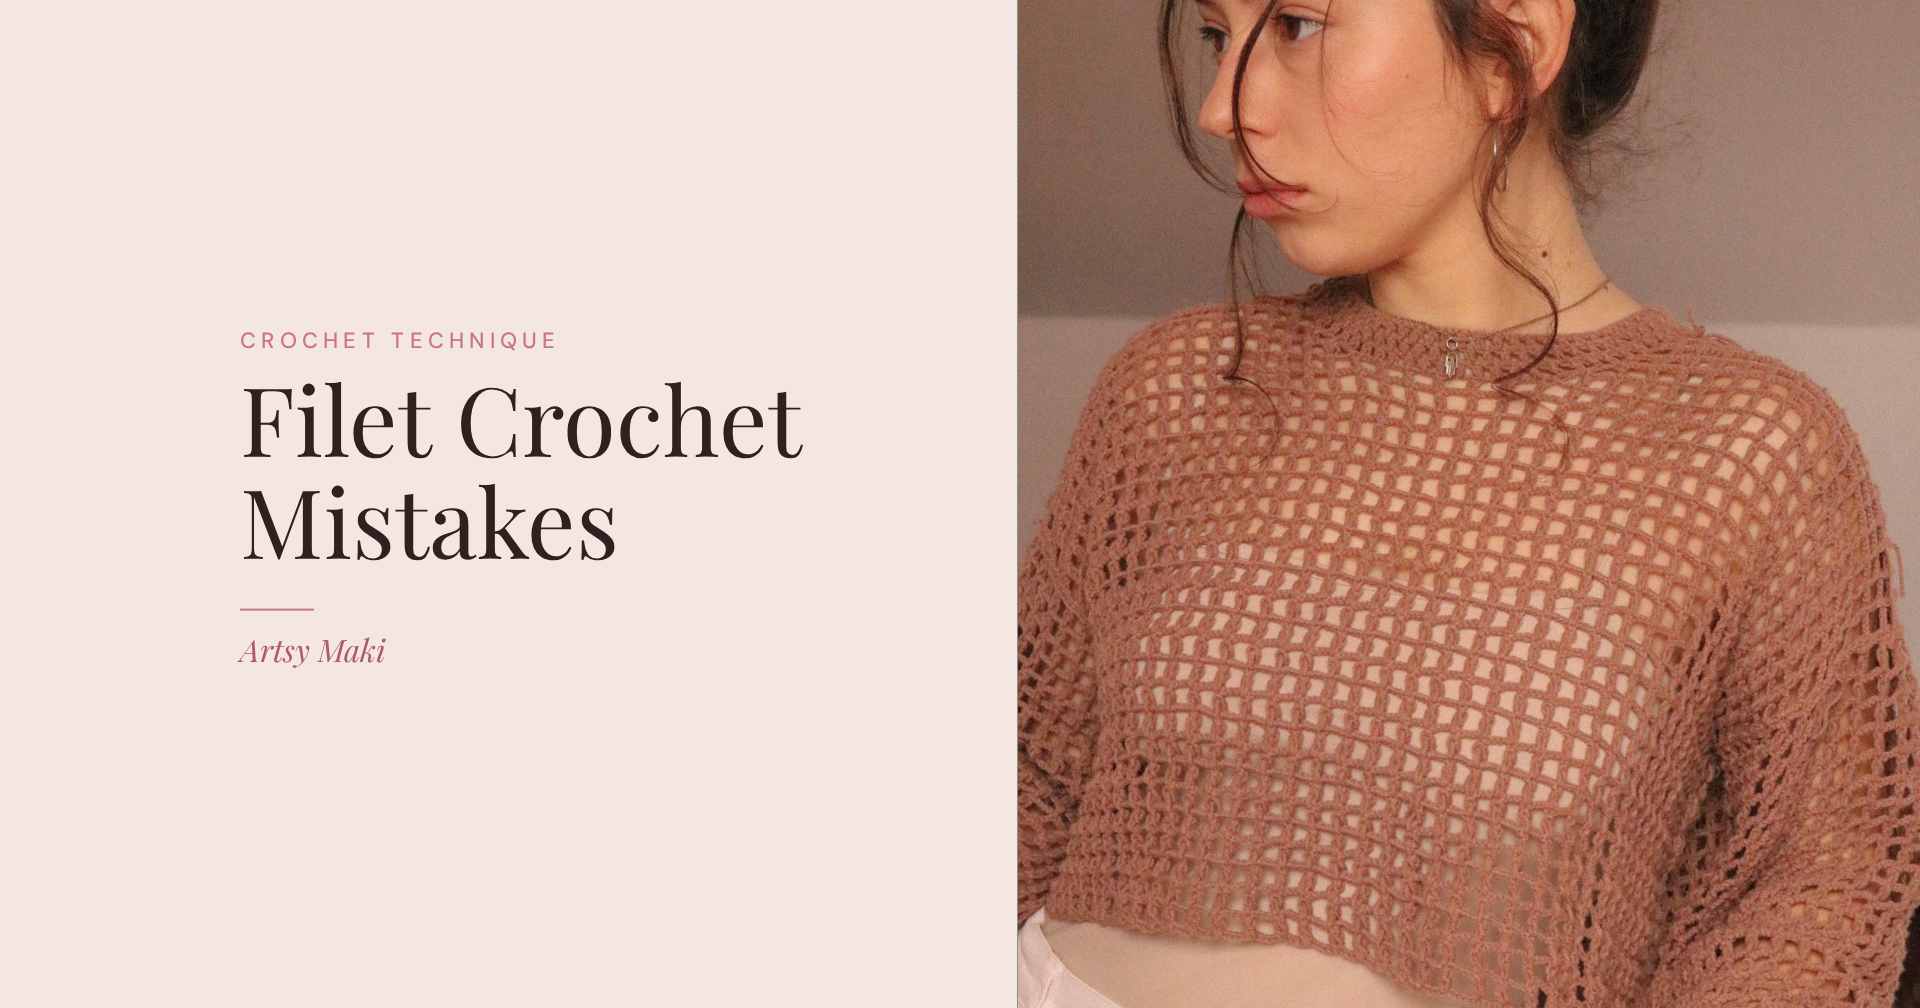
Filet crochet is one of the simplest things you can do with a hook. A grid of squares, some left open, some filled in, and a picture appears. There is no colour changing and no complicated stitch. Almost everything in it is a double crochet.
That simplicity is why it is so frustrating when the grid comes out wrong. The heart leans. One side of the piece is longer than the other. You get to row 30 and there is one square too few, and you cannot see where it went.
Most of it traces back to a handful of decisions, and nearly all of those get made in the first two rows. This post goes through the filet crochet mistakes I see most often, what causes each, and what to do instead. I have written the mesh decrease tutorial on this site, so the shaping section is from my own work. The rest is researched, and I say which is which as I go.
If you only read one box
The short version
- A filet square is one double crochet plus a gap. How wide that gap is changes every number in the pattern.
- Do not take a foundation chain formula off the internet. Count the stitches in one square of your own pattern first.
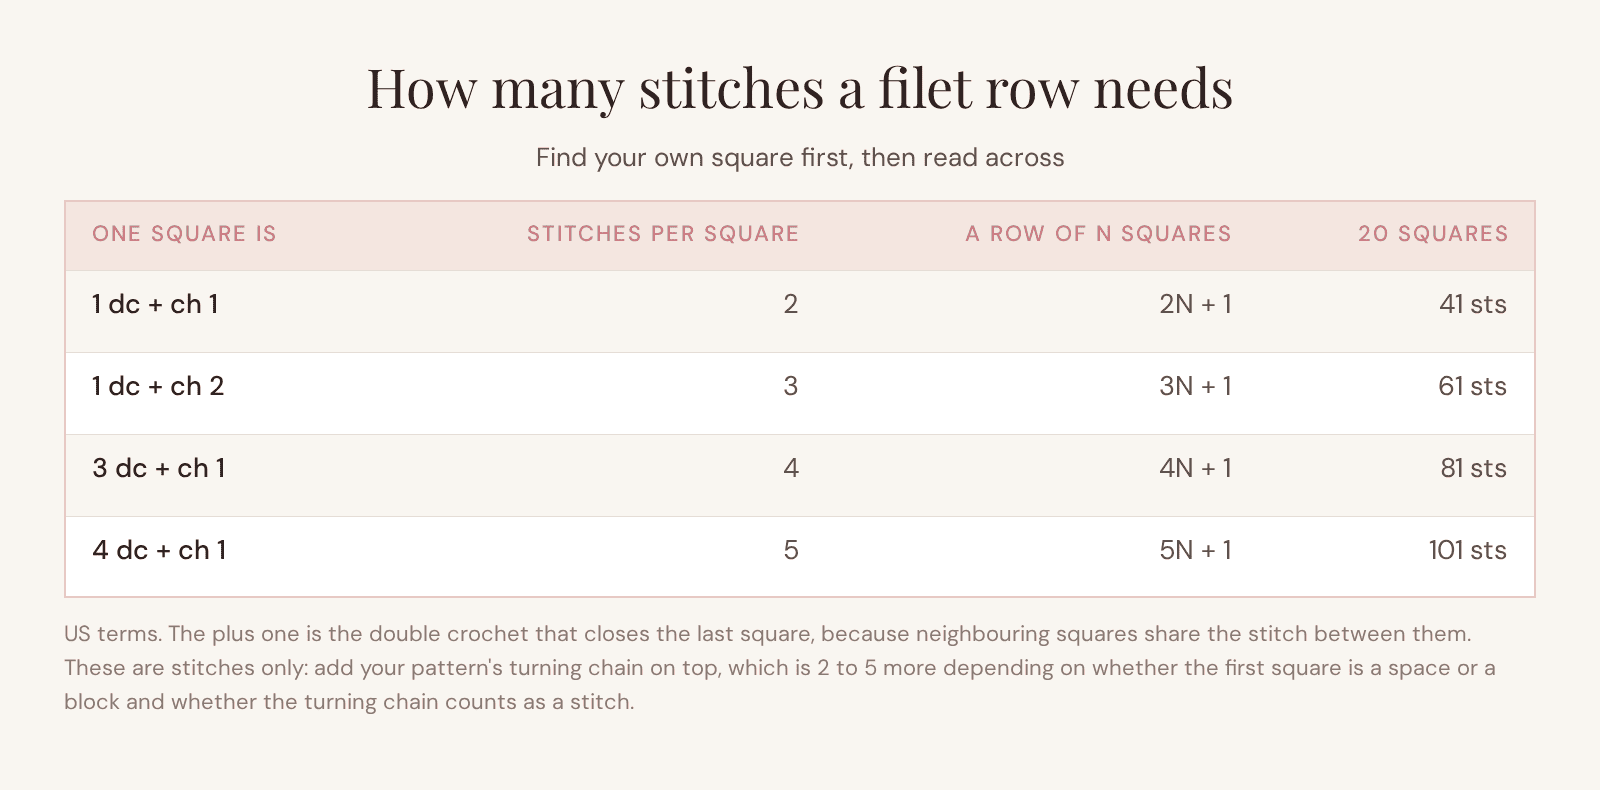
- A row of N squares is N times the stitches in one square, plus one. Then add your turning chain.
- Filet squares are almost never square. Measure 10 across and 10 up and compare the two numbers.
- Decide once whether your turning chain counts as a stitch, then do not change your mind halfway up.
- Use smooth yarn. You have to be able to see the grid to count it, and fuzz hides it.
- Block it before you judge it.
Why is my filet crochet not square?
Because a double crochet is almost never exactly as tall as your square is wide. The grid on the chart is drawn in perfect squares, your fabric is not, and the difference is normal rather than a mistake.
Start with what a square is actually made of. One square is a double crochet plus a gap. In classic filet that gap is 2 chains, so the square is 3 stitches wide. Wikipedia’s description puts it the same way: each square is either 2 chains or 2 double crochets, sitting next to the double crochet that anchors it. Plenty of patterns, including my own mesh ones, use a narrower square of 1 double crochet and 1 chain, which is 2 stitches wide.
That width has to compete with the height of a single double crochet row, and there is no reason for the two to match. Dora Does puts the classic case plainly: the width of three double crochets is often slightly wider than the height of one, so the square comes out short and squat.
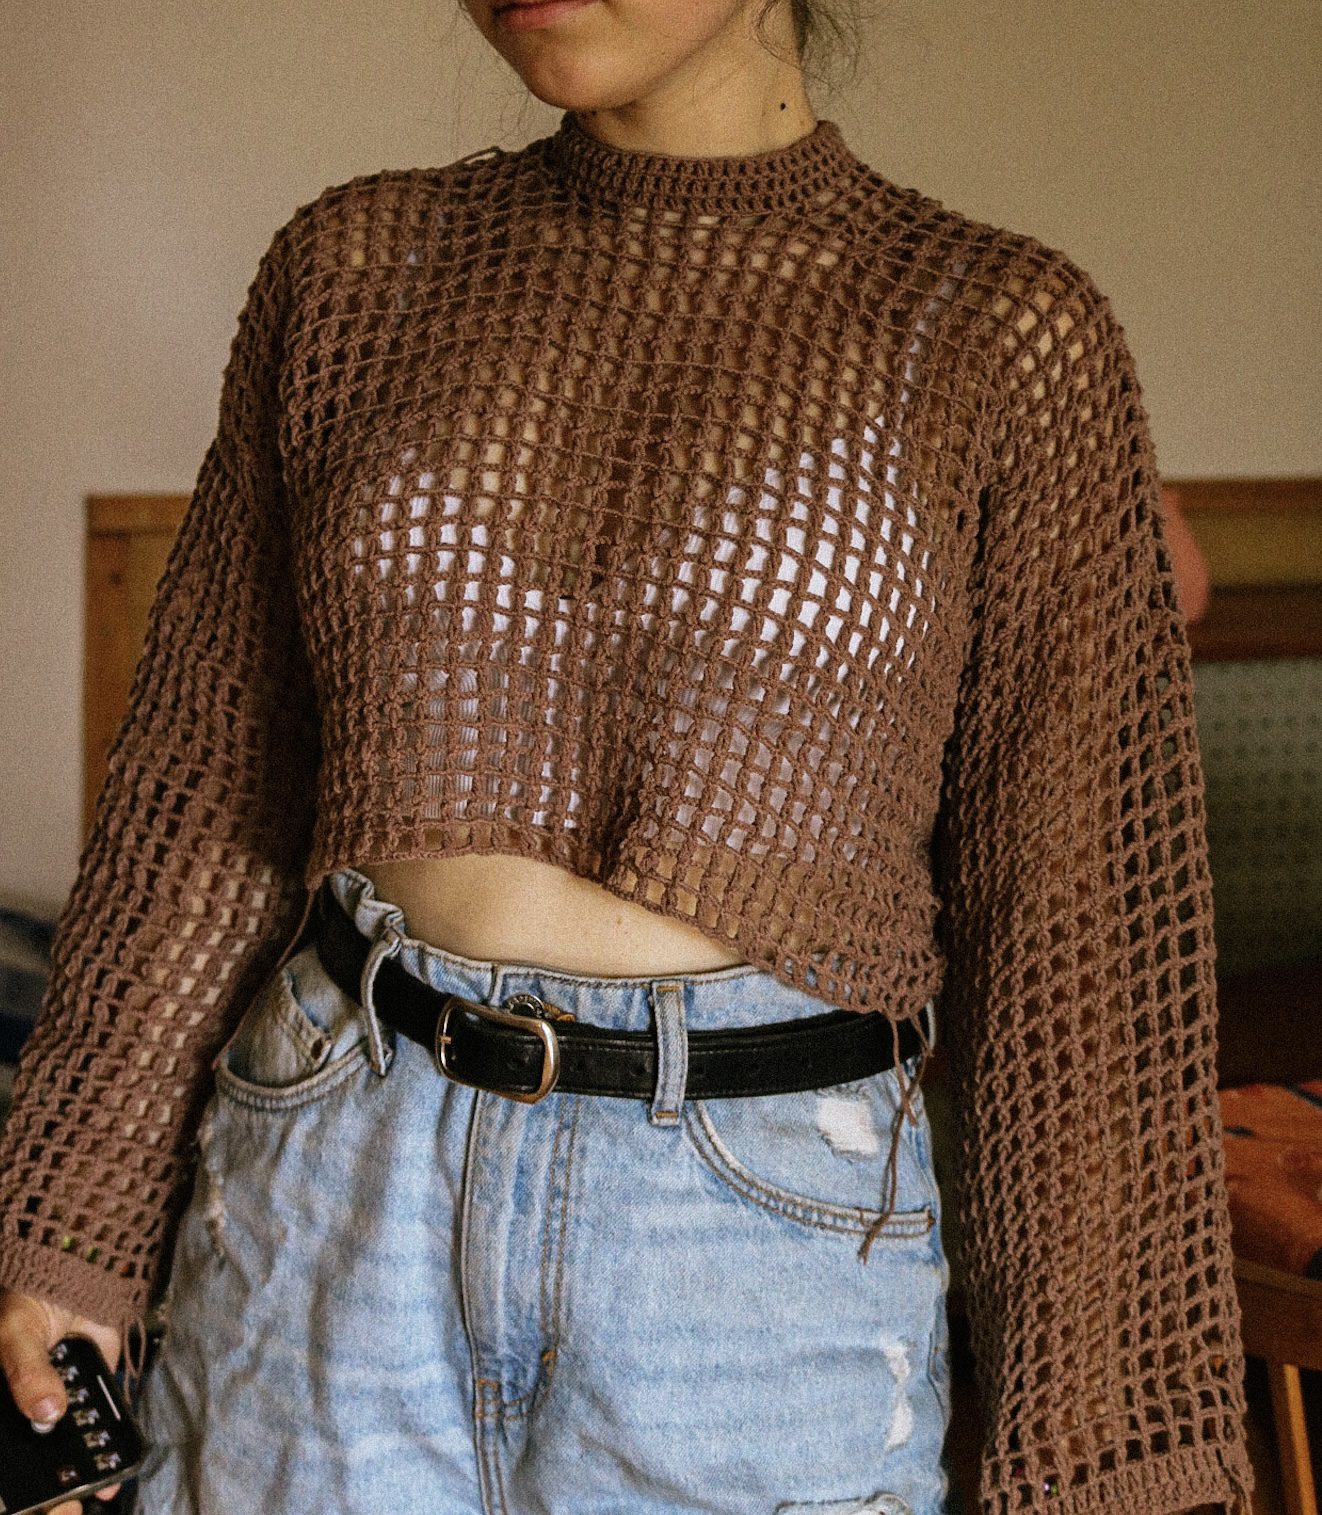
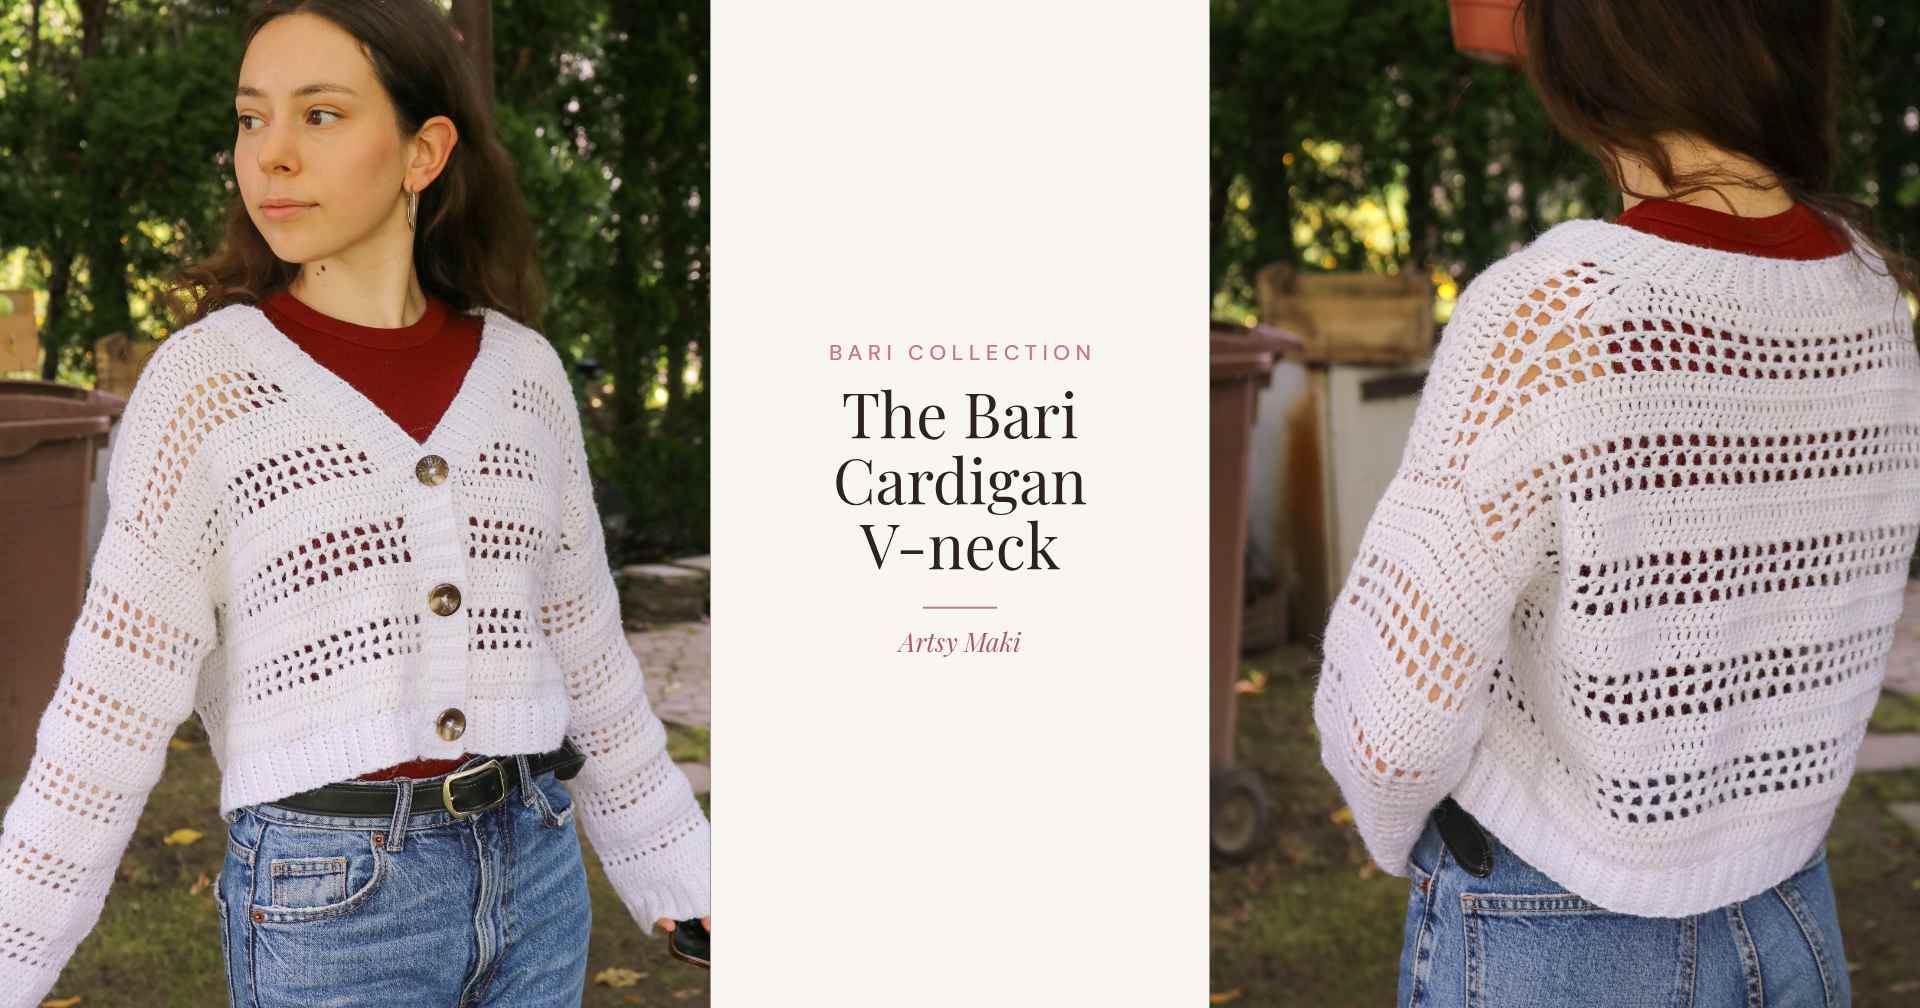
My own numbers go the other way, because my mesh square is narrower. The Bari Sweater is written at 9 mesh squares and 8 rows of mesh to 10 x 10 cm (4 x 4 in). That makes each square about 11 mm wide and 12.5 mm tall, or roughly 7/16 x 1/2 in. It is about 13% taller than it is wide.
How to measure your own ratio
- Work a swatch of at least 12 squares across and 12 rows up, in the mesh your pattern uses.
- Block it and let it dry. An unblocked filet swatch measures small.
- Measure 10 squares across, ignoring the edge squares. Divide by 10. That is your square width.
- Measure 10 rows up the middle. Divide by 10. That is your square height.
- Divide the width by the height. Both of the published garment gauges above come out at about 0.9, and neither looks wrong on a finished piece.
None of the sources I read gives a tolerance for how far off is too far, so the practical test is to crochet a small sample of the actual motif and look at it. A ratio that reads fine on a plain mesh can make a heart look noticeably squashed.
If the number is above 1, your squares are squat and you need more height. Swap the double crochet for an extended double crochet, which is the fix Dora Does settled on after testing three options, and Dream a Little Bigger gives the same advice for a piece that comes out short and squat. You work it by pulling up a loop, drawing through one loop to lengthen the stitch, then finishing as a normal double crochet. A treble adds more height again if that is still not enough.
If the number is below 1, your squares are too tall. Widen the gap by one chain, or work the rows a little looser. My post on gauge that will not match covers the golden loop, which changes row height without touching stitch width.
This only matters when the grid is carrying a picture. A heart or a letter or a name will look stretched or squashed if the ratio is off. A plain mesh top has no picture in it, so nobody can tell, and it is not worth reworking rows over.
How many chains do you start filet crochet with?
Multiply the number of squares in the bottom row by the number of stitches in one square, then add one. Then add your pattern’s turning chain on top, which is between 2 and 5 more.
The plus one catches people out, so here is where it comes from. Neighbouring squares share the double crochet between them. Ten squares side by side do not need ten separate anchors, they need eleven: one to open each square and one more to close the last one. Crochet Spot and Dummies both give the classic version as squares times three, plus one.
Why the formulas you find online disagree
This is the part that causes the most wasted foundation chains, and it is not anybody’s error. Different sources define the square differently, so their formulas are all correct and all different. Here is what I found, comparing five tutorials on the same question:
- Crochet Is The Way: squares times two, plus one, plus three for the turning chain. Seven squares gives 18 chains.
- Cosy Rosie: squares times three, plus four. Seven squares gives 25 chains.
- Dream a Little Bigger: squares times three, plus three if the first square is filled, plus five if it is open.
- Crochet Spot and Dummies: squares times three, plus one, then add the turning chain separately.
- LindeHobby: a multiple of four plus one for their 3 dc block, or a multiple of five plus one for their 4 dc block, plus three.
Two things are moving at once. The first is how many stitches make a square, which runs from two to five across these five tutorials. The second is the turning chain, and whether it counts as one of the stitches or sits on top of them.
So the useful habit is to read your own pattern’s first row, count how many stitches one square takes there, and build the chain from that. The table above does the arithmetic once you know which row you are on.
The foundation chain that comes out too tight
Filet foundation chains are long. A chart 40 squares wide needs 121 stitches in classic mesh, so you are chaining well over a hundred before you make a single stitch, and a chain that long shows every bit of tension drift. The bottom edge then pulls in and the first few rows flare above it.
Two fixes, both easy. Work the chain on a hook one or two sizes larger than the rest of the piece, then switch back for row 1. Or borrow the trick from Crochet Spot and make the foundation chain in a different coloured yarn, work row 1 into it, then unpick the chain afterwards and pick the live loops up. That second one also lets you add or remove squares at the bottom if the count turns out to be wrong.
Why are my filet crochet edges uneven?
Most often it is the turning chain, and specifically whether it counts as a stitch. Both conventions are correct, and the trouble comes from using one at the start of a row and the other at the end.
In classic filet the chain 3 at the start of a row replaces the first double crochet. Cosy Rosie spells out the consequence that trips people up: the final double crochet of the next row goes into that turning chain, and it is not drawn on the chart. The chart shows squares, not the stitch that closes the last one. If you finish your row in the last real double crochet instead, you lose a square, and you lose another one every row until you notice.
Some patterns go the other way. In my own mesh decrease tutorial the chain 3 does not count as a stitch. It acts as a bridge, and on the return row you do not crochet into it. That is a perfectly normal convention too, but it is not interchangeable with the other one, so read the pattern notes before row 1 rather than assuming.
Height matters as well as counting. A turning chain taller than the stitch it stands in for leaves a loose loop at the edge and the side goes wavy. One that is too short pulls the edge in and the piece curls. Chain 3 suits a double crochet; if yours is consistently loose, chain 2 and count it as the first stitch instead.
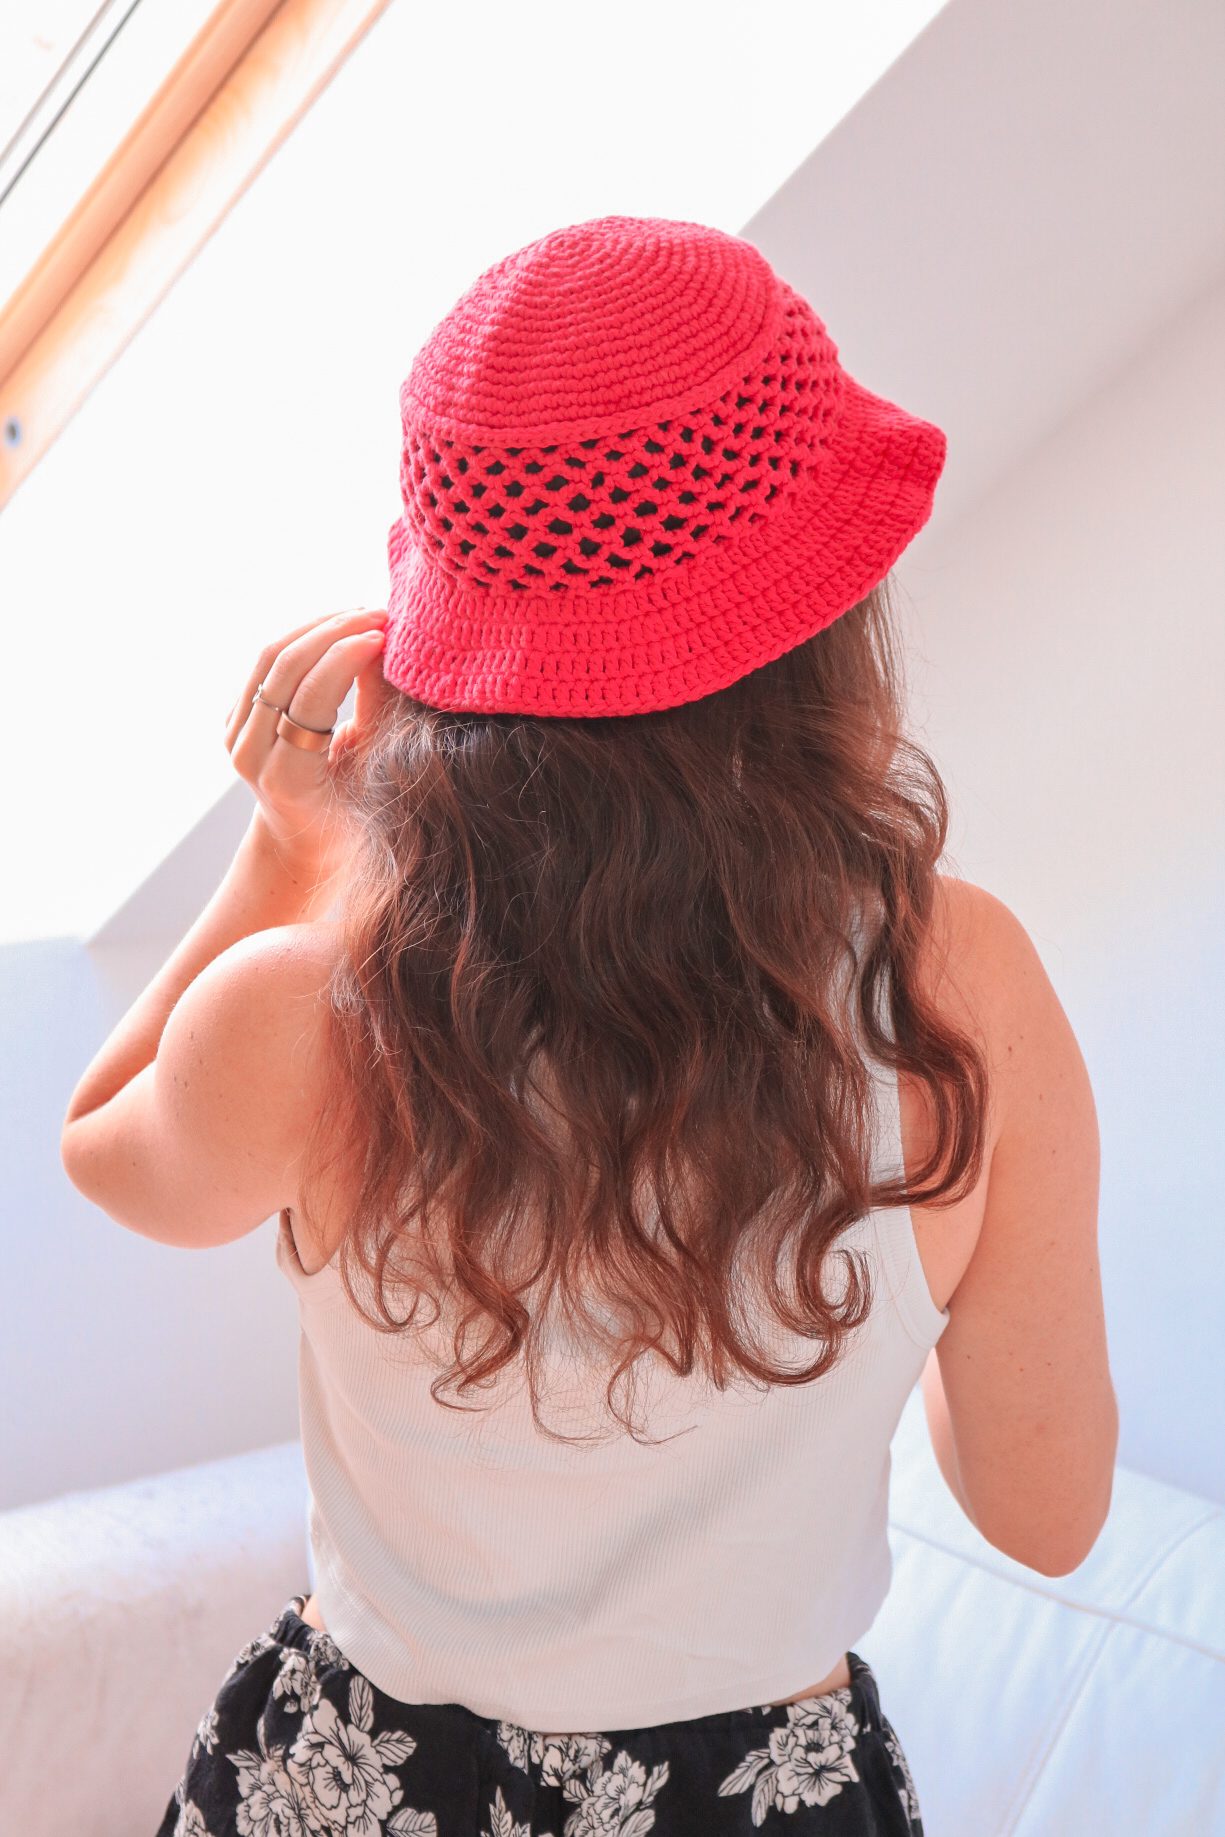
None of this applies when you work in the round. There is no turning, so there is no turning chain to get wrong and no direction to lose track of, which is why a mesh band on a hat is a much gentler place to start than a flat panel.
How to catch a lost square before row 30
- Count the squares at the end of every row for the first five rows. That is where the convention gets settled and where the error starts.
- Put a stitch marker in the first and last square of row 1 and move them up as you go.
- Cross each row off the chart as you finish it. Crochet Spot recommends printing the chart for exactly this, and it was the one piece of advice that appeared in every tutorial I read.
- If the count is wrong, frog to the last row you are sure of rather than fudging an extra square at the edge. A fudged square shows.
Where the double crochet goes in an open square
You have two places to put it: into the chain space below, or into one of the chain stitches themselves. Both are used, they look different, and mixing them within one piece is what makes a grid look wobbly.
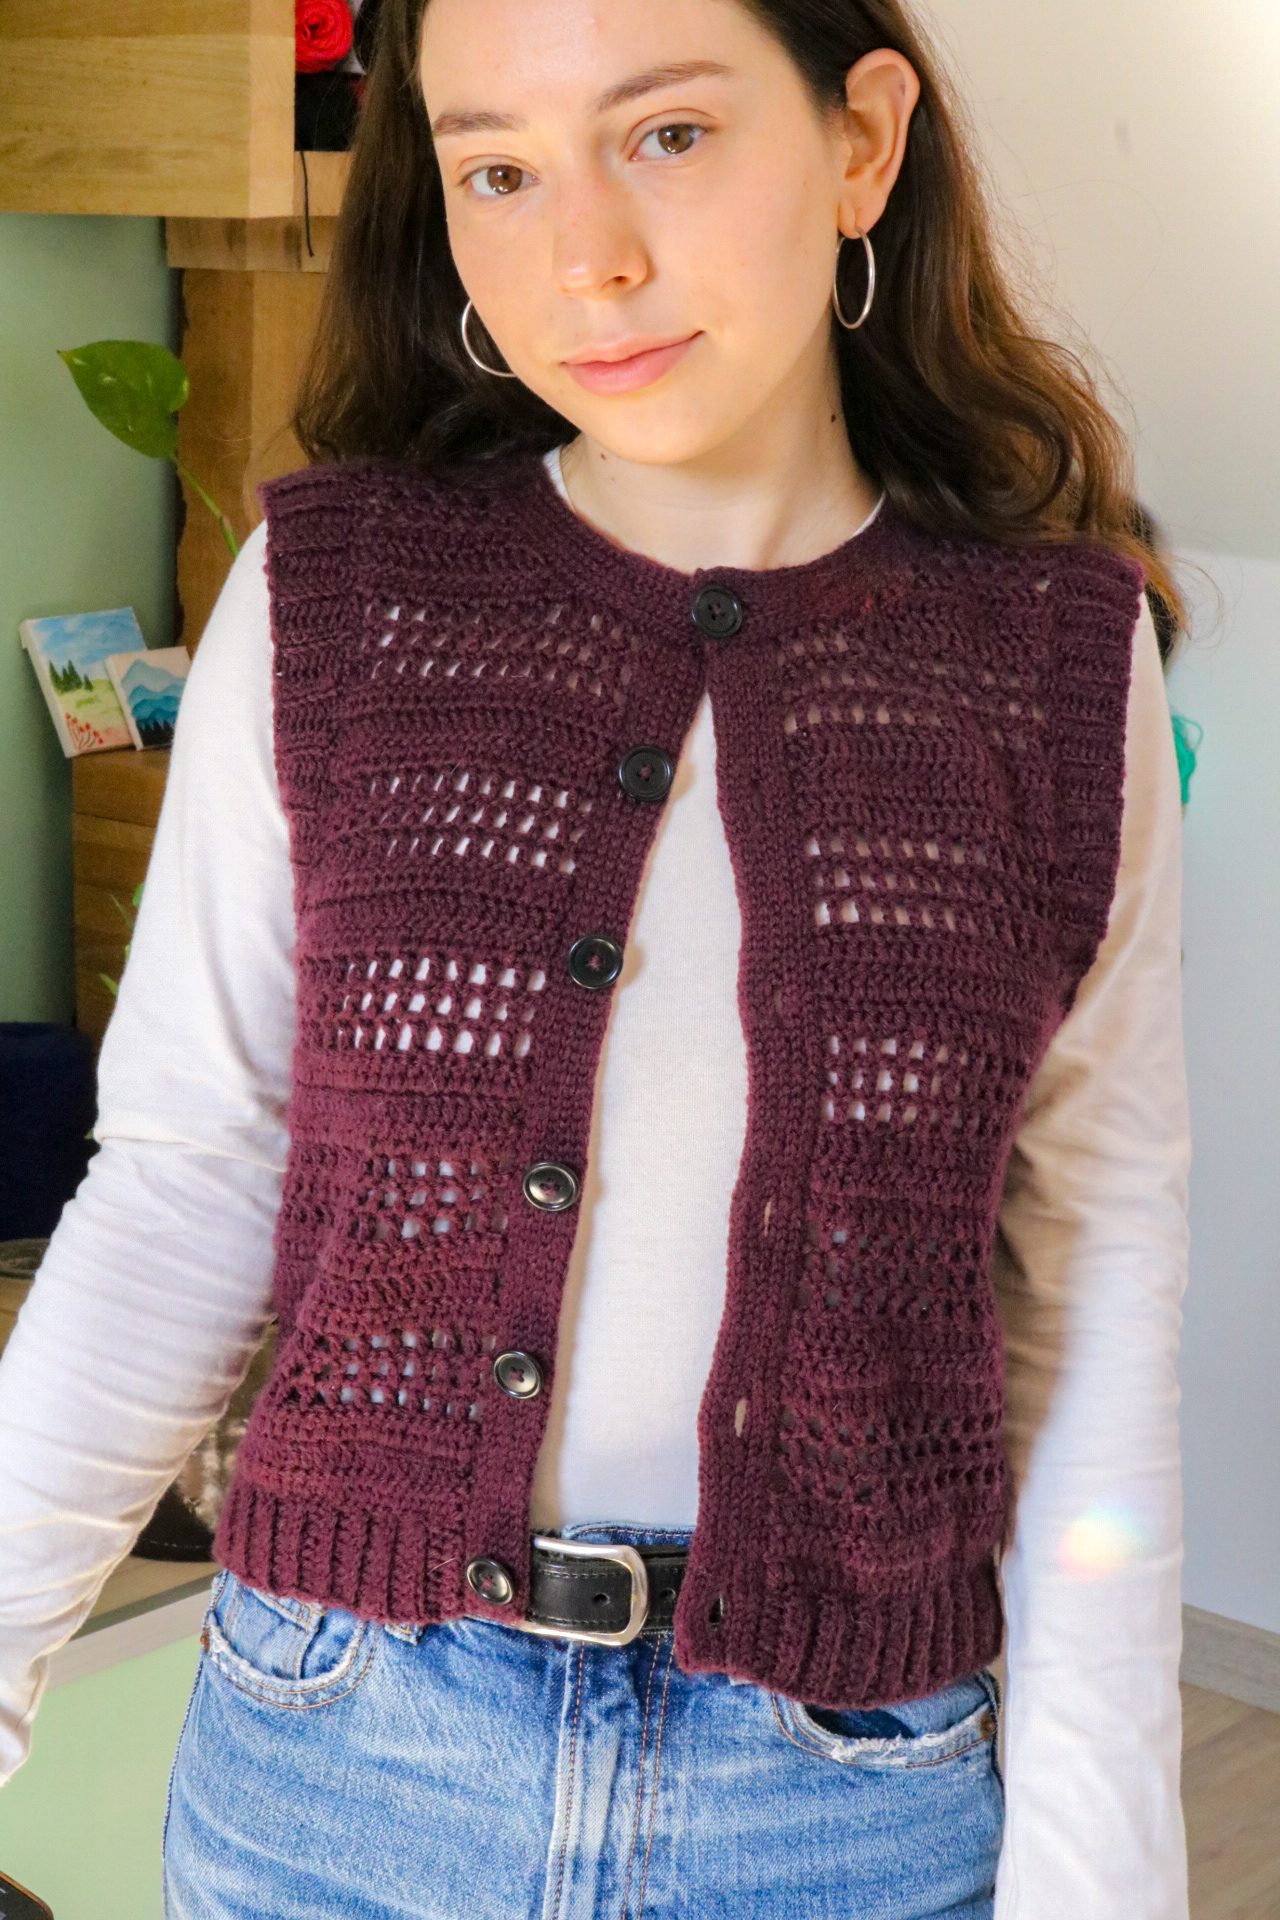
Working into the chain space means inserting the hook under the whole chain and letting the stitch sit loosely over it. It is quicker, and the author of Dream a Little Bigger says plainly that she prefers it for that reason.
Working into the chain stitch means treating one of the chains like a normal stitch and going under its top two loops. It is slower and it holds the corner of the square in place, which Dora Does recommends for keeping the squares their proper shape.
Pick one and use it for the whole piece. If you want a crisp geometric grid for a picture, work into the chain. If you are making a soft summer mesh where the fabric is meant to move, work into the space and enjoy the extra speed.
The same question comes up for a filled block sitting on top of an open square. In classic filet that block is 2 double crochets worked into the chain 2 space below, then 1 more into the next double crochet. Both of the first two go into the space. If you spread them across the chain stitches instead, the block comes out wider than its neighbours and the column of squares above it leans.
How to increase and decrease in filet crochet
Use a taller stitch to reach across at the end of a row, and a longer chain to bridge the gap at the start. That is what turns the jagged stair-step edge people expect from shaping mesh into a smooth slope.
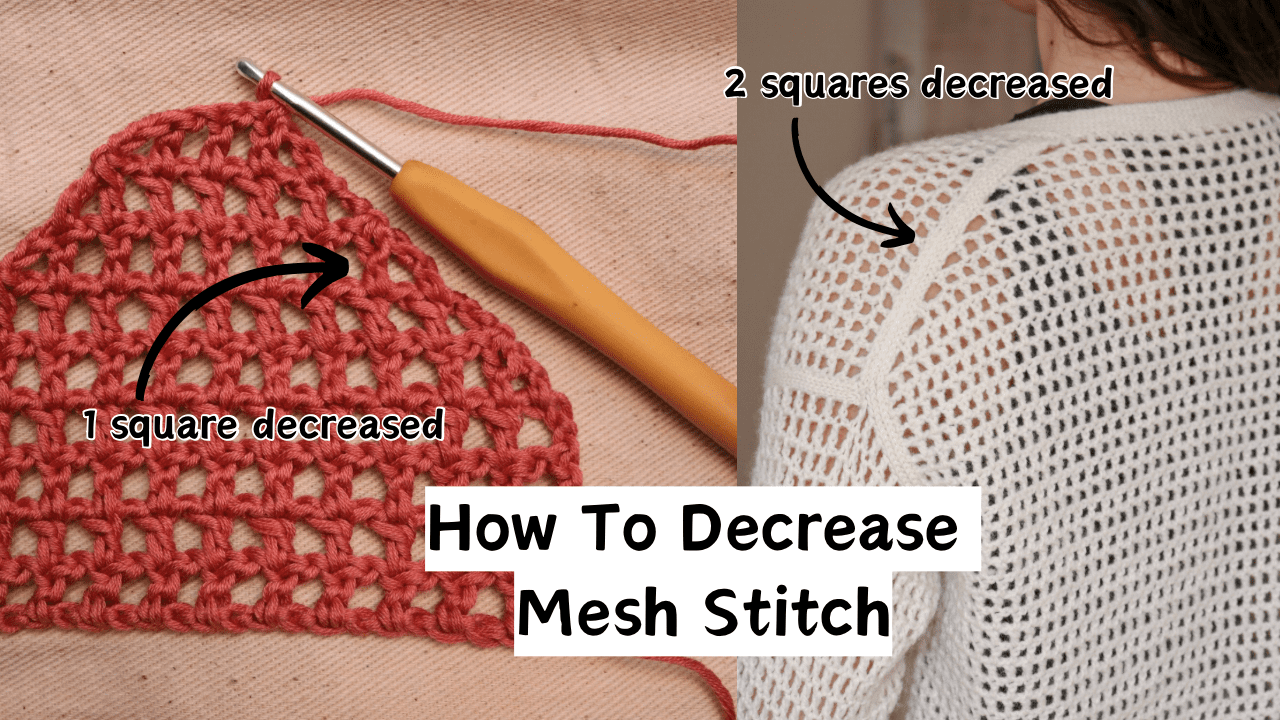
These are the numbers from my own tutorial, written for a mesh where one square is 2 stitches, a double crochet plus 1 chain. Check your own square before you use them.
- Decrease one square, start of row. Chain 3, turn, skip the first stitch and the chain space, then double crochet into the next double crochet.
- Decrease one square, end of row. Work until 4 stitches remain. Chain 1, skip 1, then work a partial double crochet and a partial treble into the last 3 stitches and close them together through all three loops.
- Decrease two squares, start of row. Chain 5, or chain 4 if your tension runs loose, turn, skip 3 stitches, then double crochet into the next double crochet.
- Decrease two squares, end of row. Work until 5 stitches remain. Chain 1, skip 1, partial double crochet, skip 3, then a partial double treble into the last stitch, closed together.
The full step by step, with photos and a video, is in the mesh decrease tutorial. There is a Czech version too.
For increases I do not have a tutorial of my own yet, so these come from CrochetnMore and are written for the classic 3 stitch square rather than mine. To add a filled block at the start of a row, chain 5, turn, and work a double crochet into the 4th chain from the hook, another into the next chain, and a third into the last double crochet of the previous row. To add an open square at the start, chain 7, turn, and double crochet into the last double crochet of the previous row. At the end of a row you build the new square out sideways, working the extra stitches into the base of the stitch you have just made.
Two things go wrong here. A starting chain that is too short puckers the new corner, which is why my two square decrease offers chain 4 or chain 5 depending on your tension. A chain that is too long leaves a floppy loop hanging off the edge. Neither is worth frogging a whole piece for, because both settle a lot in blocking, but if every increase looks loose then go down a chain and see.
Maki’s tip
Weaving in ends on filet is genuinely harder than on a solid fabric, because there is nothing to hide them in. Do not run the tail through the chain spaces, where it will show against the light and slide out. Run it down the post of a double crochet, then back and forth through the solid base of the stitches. It takes longer than weaving through the holes and it holds.
Which yarn and hook work best for filet crochet?
A smooth yarn with clear stitch definition, on a hook at the middle or upper end of the ball band’s range. The grid is the entire design, so any yarn that blurs the edges of a stitch is working against you.
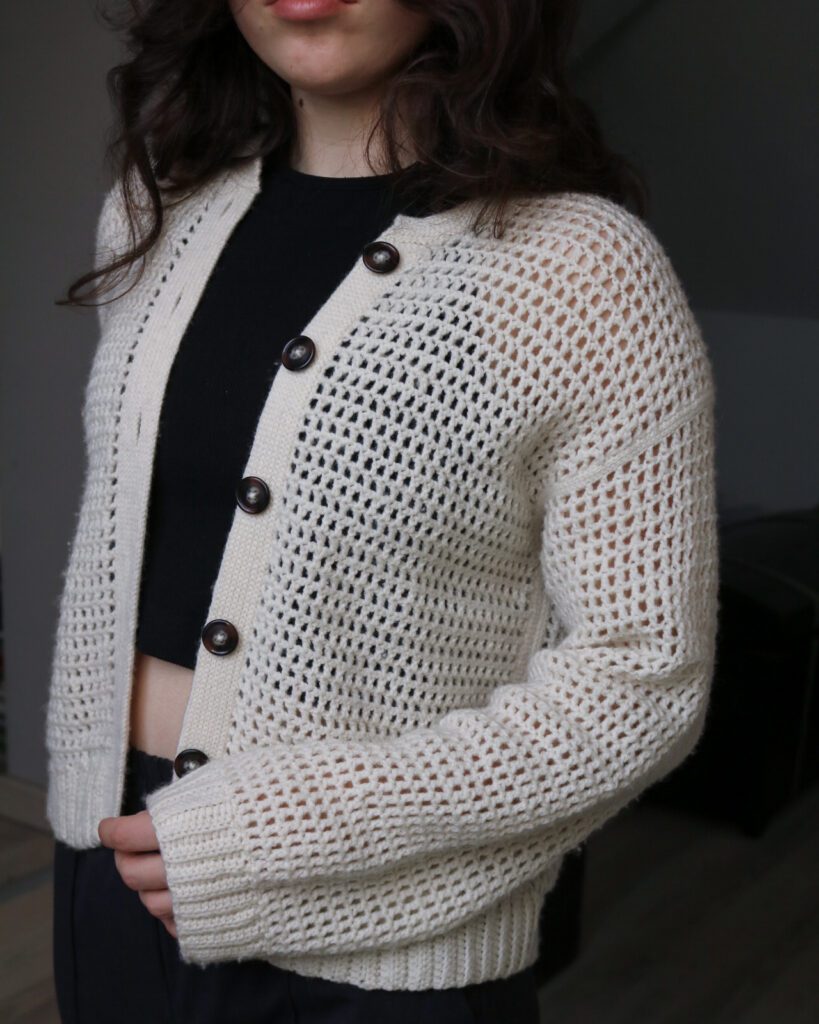
For learning, I use a smooth worsted or DK cotton. The swatches in my decrease tutorial are DROPS Muskat, on a hook somewhere between 4.0 and 5.5 mm depending on the yarn label. Mercerised cotton is the traditional choice. It is smooth, it has a slight sheen that catches the edge of each square, and it holds its shape after blocking.
Avoid fuzzy yarns while you are learning. Mohair, brushed alpaca and anything with a halo fill the holes with fibre, and then you cannot see the mesh well enough to count it. That makes the work harder as well as the finished piece less clear, because filet depends on being able to see where the last square ended.
Thread filet is a different scale entirely. Published thread projects run around 5 to 5.5 mesh squares per inch, which is about 20 to 22 squares to 10 cm, using size 10 cotton thread on a size 7 or size 8 steel hook. My DK mesh gauge is 9 squares to 10 cm, so a thread chart packs roughly twice as many squares into the same width. If you scale a thread chart up into DK without checking, the finished piece comes out about twice the size you pictured.
On hook size, go by the fabric rather than the label. Too large and the squares sag out of shape under their own weight, which is very visible on a hanging piece. Too small and the mesh is stiff and the holes close up. If you are swapping the yarn a pattern names, my guide to substituting yarn covers matching on gauge rather than on the word on the band.
Does filet crochet need blocking?
More than almost anything else you will crochet. Filet comes off the hook looking bubbly and slightly crooked, and a great deal of that flattens out the first time you wet it and pin it.
A wet block is enough for a garment. Peppergoose’s instructions for their filet garment are a good default: soak for at least 20 minutes, press the water out in a towel, lay flat, pin to the measurements you want and let it dry fully before you take the pins out. Traditional thread filet goes further and is sometimes lightly starched after blocking, which is what gives antique doilies their crisp square grid.
If you make a lot of flat pieces, my DIY blocking board gives you a gridded surface to pin against, which is exactly what filet wants.
Blocking evens out tension and sets the piece to size. It will not give you back a square you dropped, straighten an edge where the stitch count genuinely changed, or fix a chart read in the wrong direction. If a piece is still visibly wrong after blocking, the problem is in the counting.
Questions I get asked
Which way do you read a filet crochet chart?
From the bottom row upwards. If you are right handed, read odd numbered rows right to left and even numbered rows left to right, following your work as it turns. Left handed crocheters reverse that. Working in the round is simpler: every round is read in the same direction, because you never turn.
Why did my letters come out backwards?
Because the chart was worked in the wrong direction, usually by a left handed crocheter following right handed instructions without mirroring. Symmetrical charts survive this and lettering does not. If you are left handed and the chart has words or numbers in it, mirror the whole chart before you start rather than trying to correct it row by row.
Is filet crochet the same thing as mesh stitch?
Not quite. Mesh stitch is the open grid on its own, used as a fabric. Filet crochet is that same grid used as a canvas, with some squares filled in to make a picture. Every filet piece is built on mesh, but a mesh top with no filled squares in it is not filet.
Can I use filet crochet for a garment, or only for doilies?
Garments work well, and the shaping is the only extra skill you need. The practical difference is that a doily lies flat and a garment hangs, so a loose filet fabric will stretch downwards on the body. Swatch hanging rather than flat if you can, and choose a hook at the smaller end of what the fabric will take.
How do I stop losing my place in a long chart?
Print the chart and cross off each row as you finish it, or lay a ruler under the row you are working. Charts of a hundred rows all look identical when you come back to them two days later, and the marked-off copy is the only thing that reliably tells you where you stopped.
My edge looks bubbly. Have I done something wrong?
Probably not. Mesh is a flexible fabric and it looks uneven until it is blocked. If it still bubbles after blocking, the turning chain is likely the wrong height, so try one chain more or one chain less at the start of the row.
Where to go next
If the shaping is what is holding you back, the decrease tutorial has photos and a video for each of the four decreases above. If you want to make something in mesh without charting a picture first, the Bari Sweater and the Diamond Mesh Bucket Hat are both built on the grid this post is about, and the hat works its mesh in the round, so there is no turning chain to get wrong.
Shaping mesh, step by step
The full decrease tutorial, with photos for every step and a video. Free, and it covers both the one square and the two square decrease.